How to Replace Your Garage Door Panels: A Step-by-Step Guide
Learn how to replace garage door panels easily with our comprehensive step-by-step guide. From sourcing the right parts to installation tips, we help you upgrade your home's curb appeal safely and efficiently. Perfect for homeowners & DIY enthusiasts seeking professional results.
How to Replace Your Garage Door Panels: A Step-by-Step Guide
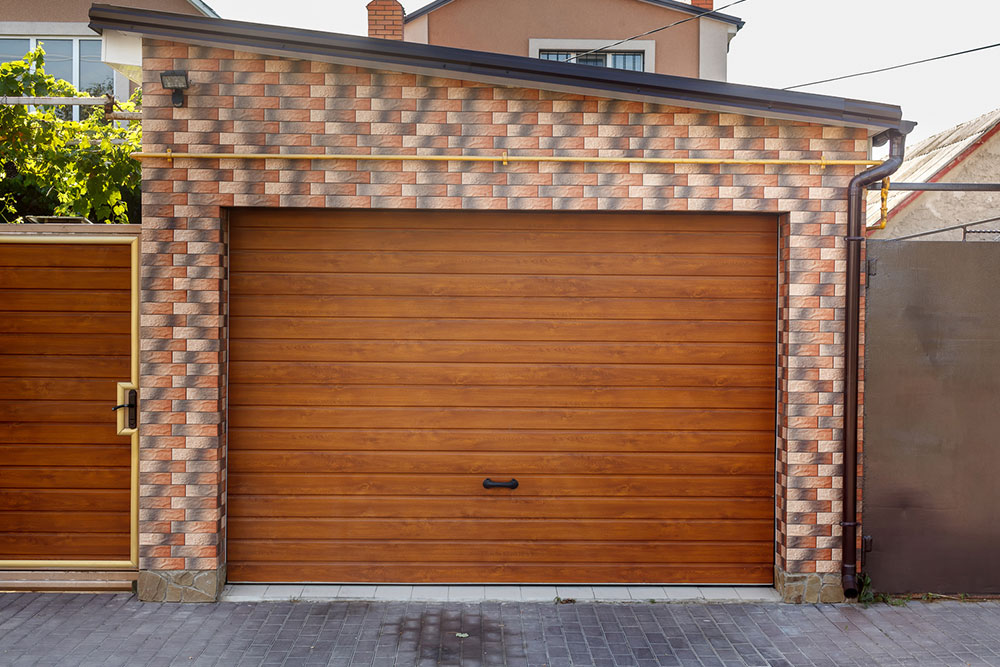
Updating the look of your home often involves upgrading the garage door, which can significantly boost curb appeal. If you're planning to replace garage door panels, start by identifying reputable manufacturers. Whether you're sourcing new panels or seeking local repair services, online searches can connect you with dependable providers.
Follow these essential steps to replace garage door panels efficiently:
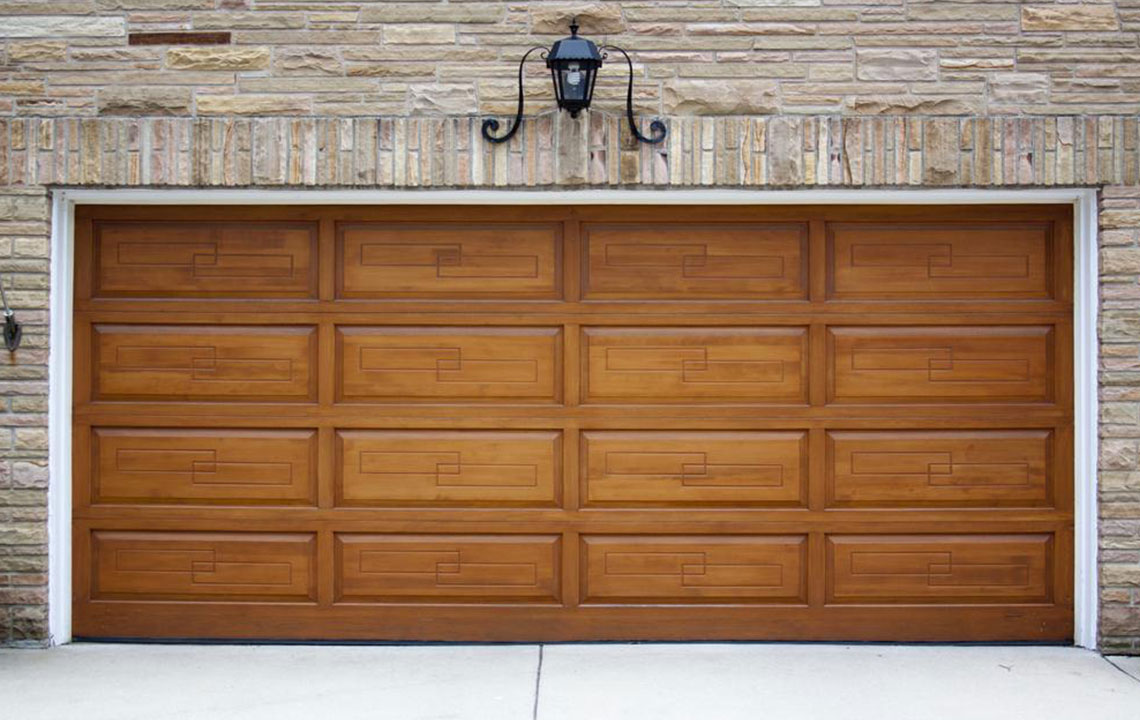
Select the Right Panels
Identify the manufacturer of your existing garage door to ensure compatibility when ordering replacements. For older models, contact the manufacturer directly for advice.
Remove the Old Panels
Disconnect the garage door opener, then manually open the door. Carefully detach springs and loosen bolts to remove panels, starting from the top or damaged section, lifting carefully to prevent injury.
Attach the New Panels
Position the new panel by inserting rollers into the track, then secure it with screws or bolts to adjoining panels. Repeat for remaining sections, making sure all hardware and springs are correctly installed. Test the door operation to confirm smooth functioning.
Note: Our blog provides helpful insights on various topics. While we aim for accuracy, please verify details independently as updates or discrepancies may occur. We are not responsible for external errors or promotional content outside this guide.