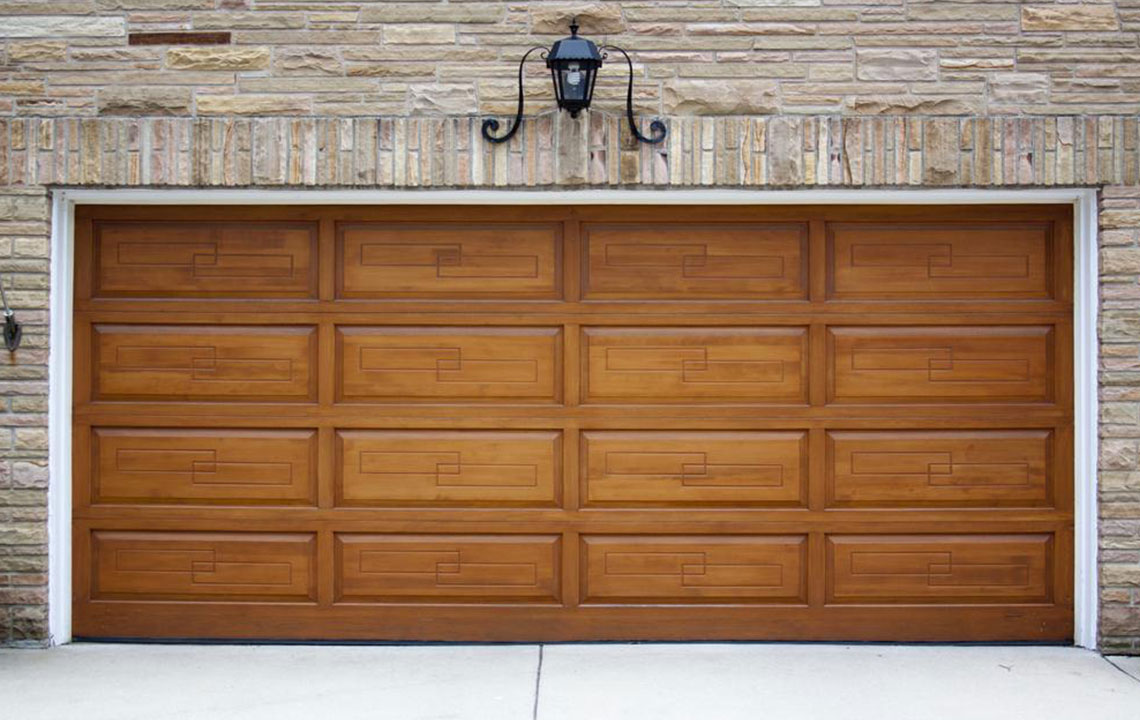
DIY Guide: Installing a Garage Door at Home
Learn how to install a garage door yourself with this comprehensive step-by-step guide. From releasing spring tension to final adjustments, this article covers essential safety tips and procedures for a successful DIY project, saving you money and boosting your skills in home maintenance.
DIY Guide: Installing a Garage Door at Home
Installing a garage door yourself can be both satisfying and cost-effective. Here are ten easy steps to help you set up your new garage door safely and effectively:
Releasing Spring Tension
Begin by carefully releasing the tension from the torsion spring. Clamp locking pliers onto the spring shaft to hold it securely. Insert a steel rod into the winding cone to safely loosen the set screws.
Removing Old Parts
After releasing tension, disconnect the existing garage door opener and remove the door panels. Unscrew and detach the track from the door frame to prepare for the new installation.
Installing New Panels
Drill pilot holes and secure each panel with screws. Attach axle screws at the top and bottom of the panels, then position them into the door opening and fasten securely.
Attaching Hinges and Tracks
Fasten hinges to the panels and connect the brackets. Join the horizontal and vertical tracks by bolting them for stability and alignment.
Assembling Spring System and Torsion Rods
Install the spring supports and attach the springs to the main header bracket. Insert torsion rods into header brackets, securing them with pulleys, and tighten the springs with steel rods.
Final Assembly
Connect cables to pulley wheels, ensure all fasteners are tight, and verify smooth operation of the door.
Note: This guide provides helpful tips based on thorough research. However, it's recommended to consult professional installers for safety and precision. We do not guarantee coverage of every detail or issue related to garage door installation.