DIY Large Garden Container: Easy Step-by-Step Instructions
Create your own large outdoor garden planter with this simple step-by-step guide. Made from wood, it involves measuring, cutting, assembling, and finishing. Personalize your space and enhance your garden's appeal cost-effectively.
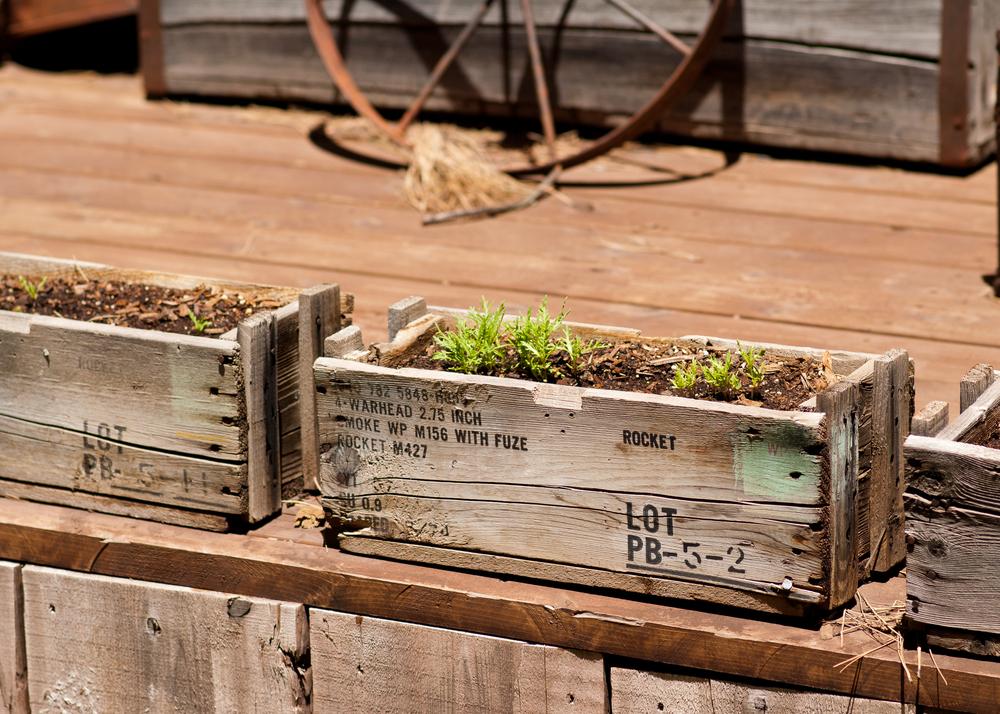
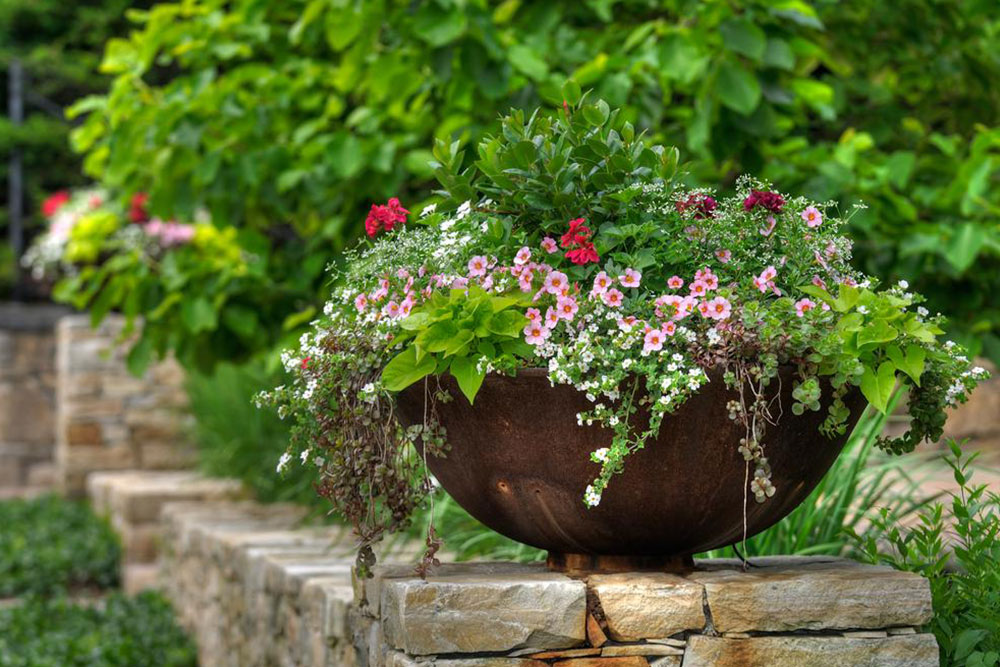
Large outdoor garden containers can significantly elevate the aesthetic of your yard, patio, or balcony. Available in various styles and sizes, these planters organize and display plants elegantly, creating a spacious, attractive environment.
While ready-made options are accessible online and in stores, crafting your own planter is a fulfilling project that fosters creativity. It can also be more budget-friendly and personalized, especially for gardening enthusiasts.
Wooden planters are the easiest to build at home. More intricate designs require advanced carpentry skills and tools.
Materials needed for a rectangular planter include:
Wood (e.g., cedar, cypress, teak, pine, redwood)
Measuring tape
Saw (manual or powered)
Screws
Drill
Pencil or marker
Hammer
Nylon or vinyl mesh
Sander or sandpaper
Paint, primer, or protective finish
Let's start the process.
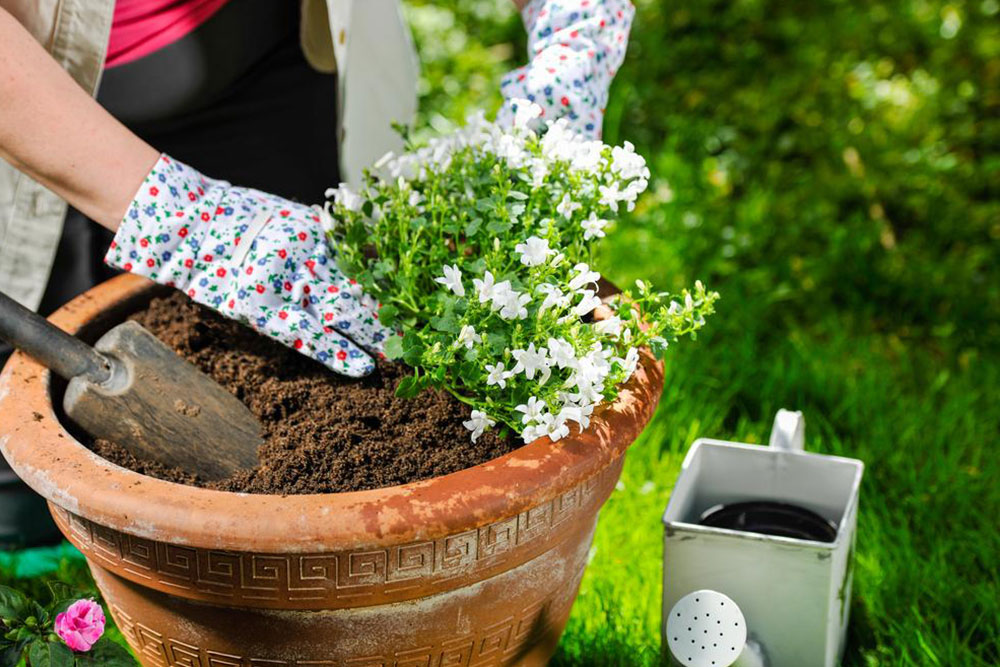
Begin by measuring and marking the wood pieces based on your design specifications. Cut the boards to size using a saw; consider professional assistance if necessary. Assemble the sides by marking pilot holes with a pencil, then drilling and attaching the panels with screws. Repeat for all sides, leaving the top open.
Drill drainage holes at the bottom. Once assembled, flip the planter upright and line the interior with nylon or vinyl mesh, securing it with nails. Smooth rough edges with sandpaper and finish with paint or stain to match your outdoor decor.
Note: Our blog offers diverse practical content. While we strive for accuracy, readers should verify details independently. We are not responsible for discrepancies or missing offers that may benefit readers.