DIY Wooden Garden Bed: A Step-by-Step Guide
Learn how to build a stylish and sustainable wooden garden bed with this easy-to-follow guide. Perfect for patios, balconies, and outdoor gardens, it covers everything from measuring and selecting wood to finishing and planting. Enhance your gardening space with charming wooden planters that promote eco-friendly growth and personal customization. Whether you’re a beginner or experienced gardener, this project offers a practical and creative way to grow flowers and vegetables year-round.
DIY Wooden Garden Bed: A Step-by-Step Guide
Building a wooden garden bed is a satisfying and sustainable gardening project suitable for both indoor and outdoor spaces. Proper planning allows you to maximize limited areas and grow a diverse range of plants, from vegetables to ornamental flowers. Wooden planters add rustic charm and practical functionality to your garden. Follow this detailed guide to create your own stylish wooden garden bed effortlessly.
Step 1: Measure and plan
Use a tape measure to determine available space. Decide on the size and shape of your planters, considering your plant types. Smaller, narrow designs fit windowsills or balconies, while larger ones work well outdoors.
Opt for wider planters in outdoor settings.
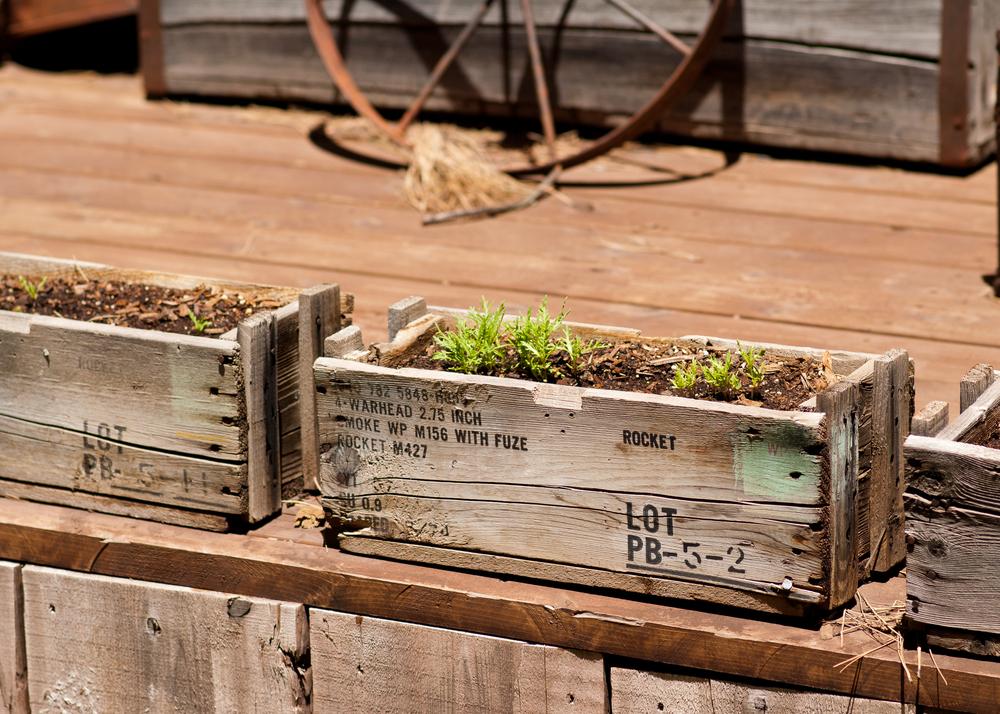
Step 2: Select the wood
Choose untreated wood if planting edible crops to avoid chemical contamination. Cedar is favored for its durability and ease of handling. Either buy pre-cut pieces or purchase planks to cut to your specified sizes. You will need four side panels and a base plank.
Step 3: Drill drainage holes
Ensure your planters have drainage by drilling 3-4 holes at the bottom. Proper drainage prevents water accumulation and protects roots from rot.
These holes are vital for healthy plant growth.
Step 4: Seal the base
Cover drainage holes with nylon or vinyl sheets before attaching the bottom panel. Secure with nails or staples to prevent soil leakage and protect the wood from moisture infiltration.
Step 5: Sand the edges
Check for sharp or rough edges after assembly. Sand these areas smoothly and remove any protruding nails for safety sake.
Step 6: Apply finish
Coat your wooden garden bed with paint or stain for added durability and visual appeal. Feel free to choose colors that match your garden aesthetic. Once dried, your planters are ready for planting.
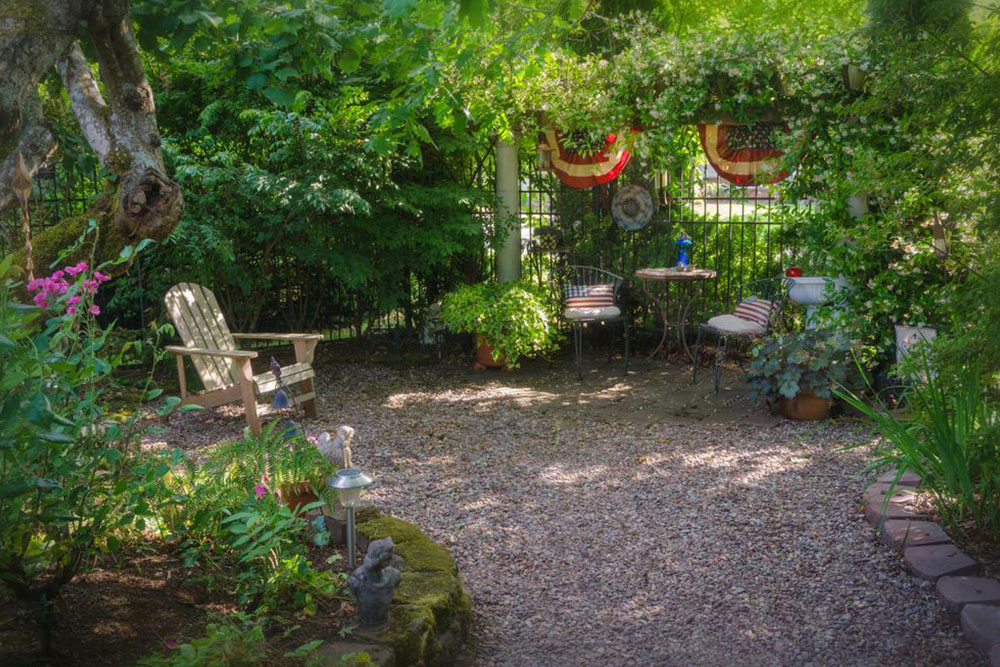
Step 7: Place the garden bed
Secure balcony or window planters with mounting brackets that support the weight. Use waterproof sheets underneath if situated on indoor or balcony surfaces. For garden beds, consider embedding into the ground or constructing raised beds for stability.
Step 8: Maintenance tips
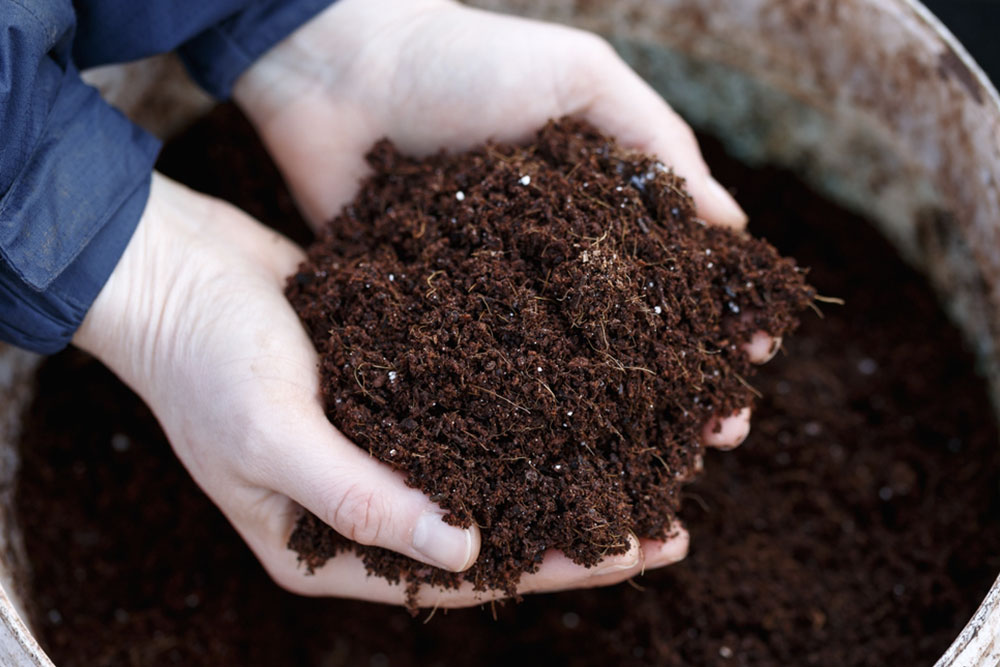
Fill your planter with quality soil and compost. Support taller plants with stakes if necessary. Since moving filled planters is difficult, select your location carefully. Enjoy vibrant flowers and healthy vegetables all year long!
Creating a wooden garden bed enhances your outdoor space's charm and supports eco-friendly gardening. Customize with multiple planters and enjoy a lush, personalized garden experience.