Essential Steps for Properly Setting Up Your Garden Pavilion
Learn how to assemble your garden pavilion with this easy-to-follow guide. Step-by-step instructions will help you secure the structure safely, whether installing on soil or concrete. Proper setup enhances your outdoor space and ensures lasting stability. Always adhere to your specific manual for best results.
Once you've acquired a garden pavilion, understanding the correct assembly process is vital for safety and durability. Follow these straightforward steps to ensure a seamless setup and enjoy your enhanced outdoor area.
Assembly Guide:
Lay out all components, confirm that every part is present, and prepare a ladder for easier handling.
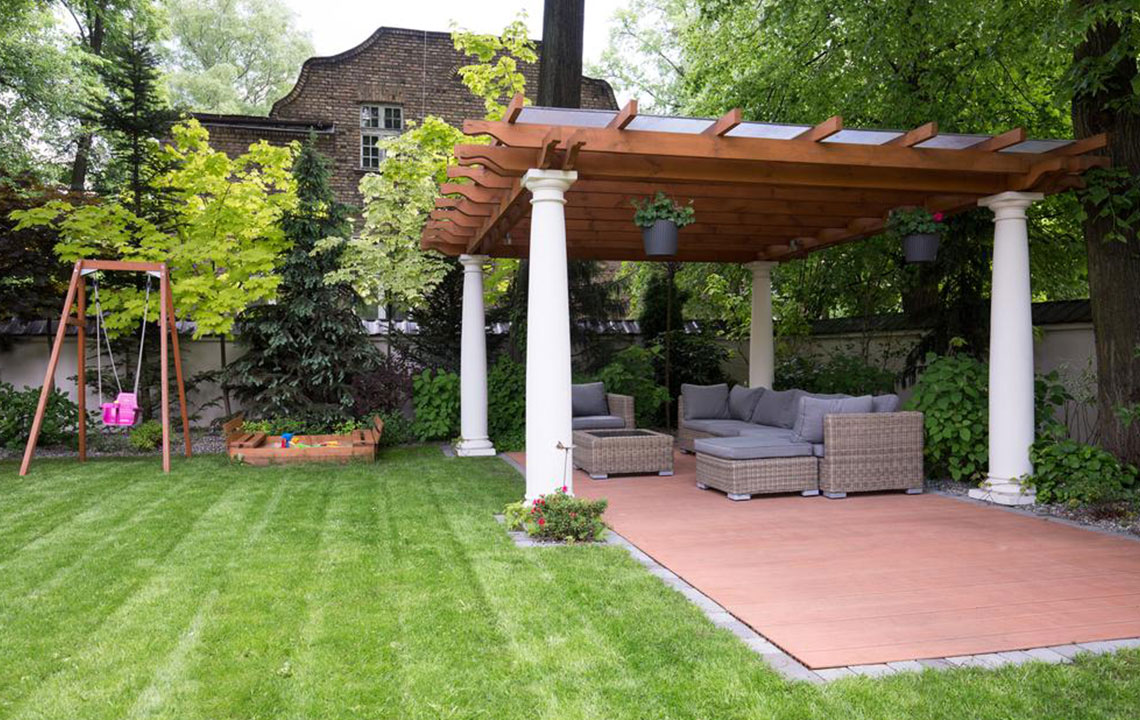
Select the ideal location and prepare the ground, leveling if necessary to provide stability.
It's advisable to have an assistant help during assembly to simplify and secure the process.
Building a pavilion alone can be demanding. Start by attaching the lower base to each support post using bolts—usually two to four per post. For ground installation, use stakes to secure the structure; for concrete bases, drill holes and fix with anchors. Fit post covers onto each support, ensuring uniformity.
Make sure the legs are firmly anchored to prevent wobbling. Follow your manual to connect the support posts to the central plate, creating the framework for the roof. Tighten all connections properly. Carefully place the roofing panels, such as fiber or vinyl layers, to prevent damage.
Reminder: This guide provides general advice. Always refer to the specific instructions of your pavilion model. Procedures may differ, and we are not responsible for variations or errors during installation.