Ultimate DIY Step-by-Step: Replacing Your Car's Windscreen Safely
Learn how to safely replace your vehicle's windscreen with this comprehensive DIY guide. It covers essential steps, safety tips, and precautions to ensure a successful and hazard-free replacement process. Always check local regulations before attempting repairs and consider professional help for complex tasks.
Ultimate DIY Step-by-Step: Replacing Your Car's Windscreen Safely
A cracked or damaged windscreen can jeopardize your vehicle's safety and lead to accidents. Whether caused by debris or impacts, prompt repair or replacement is essential. It's recommended to compare prices online to find affordable options before purchasing a new windscreen. While some car owners opt for DIY replacement, understanding safety standards and proper procedures is vital to avoid hazards and legal complications.
Common causes of windscreen damage include rocks and road debris kicked up by large vehicles. Keeping a safe following distance of at least 200 feet can reduce the risk. Installing cameras can also help record damage for insurance claims involving heavy vehicles.
To prevent damage, park away from trees, billboards, or other potential hazards. If damage occurs, DIY replacement is feasible when following correct steps and safety measures. Care should be taken to avoid breaking the glass or injuring your hands during removal and installation.
Key steps for DIY windscreen replacement include:
Finding a reliable supplier for affordable windscreens. Carefully detach the existing windscreen by removing the rubber or metal beading without scratching the vehicle's paint. A windshield removal knife can facilitate this process.
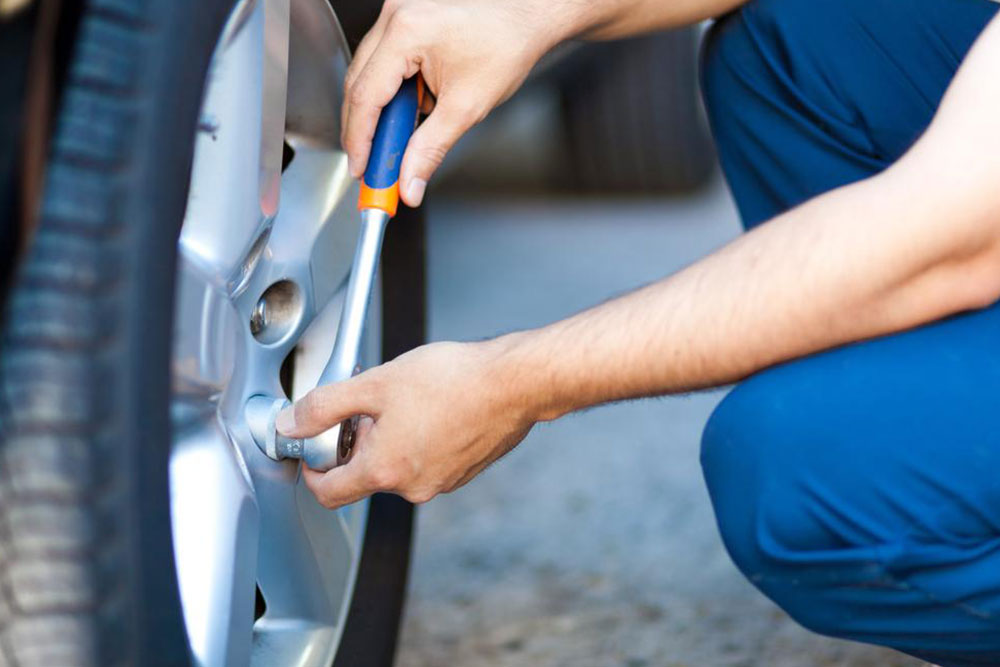
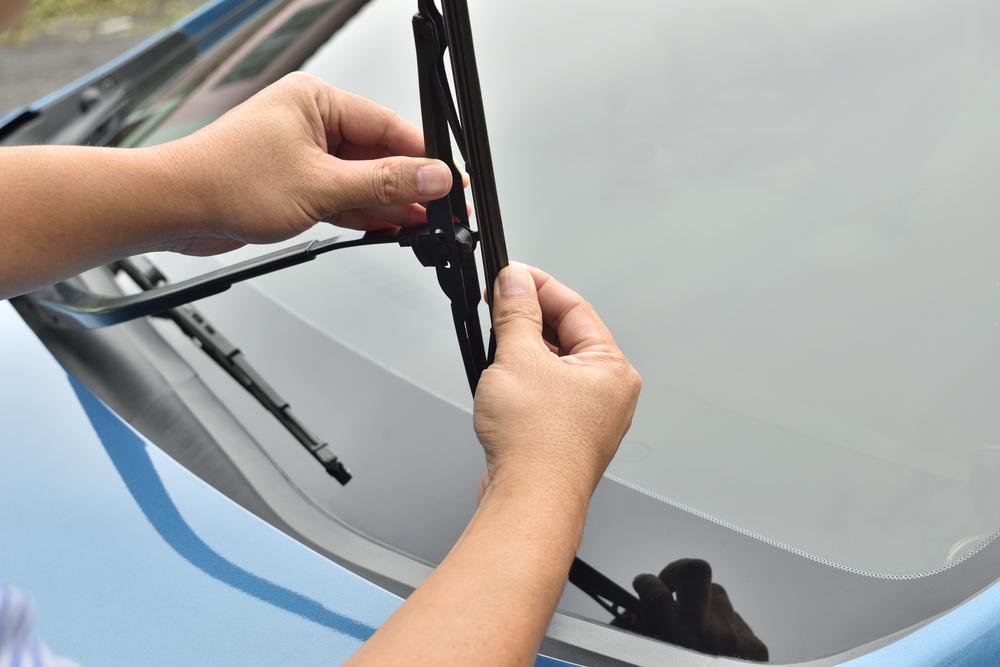
Removing the windshield wiper arms by unbolting them.
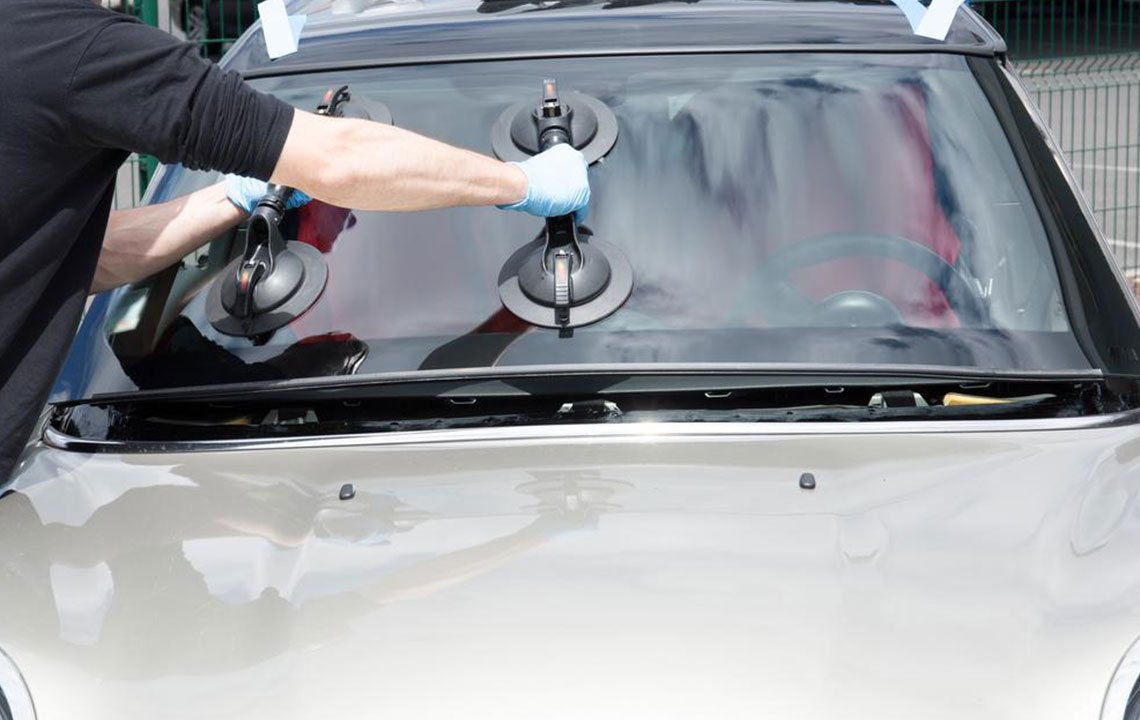
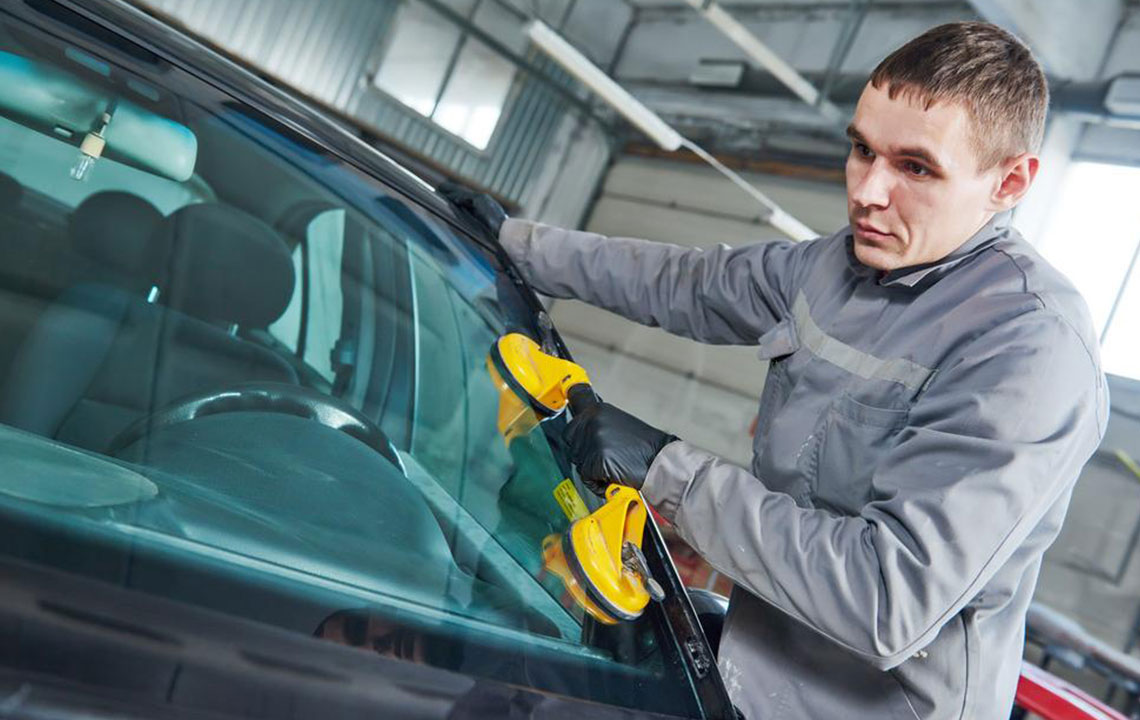
Using suction cups or sturdy rubber gloves to gently push out the broken or old glass.
Cleaning off adhesive residues with scrapers and alcohol-based cleaners to prepare the surface for the new windscreen.
Apply a high-quality polyurethane adhesive or urethane sealant with a caulking gun. Carefully position the new windscreen and secure it with duct tape until the adhesive cures for 4 to 6 hours. Always prioritize safety during each step.
Note:
This blog offers practical tips and information on various topics, based on research and best practices. However, it is not a substitute for professional advice or adherence to local regulations. Verify your area's safety standards before attempting DIY repairs. We are not liable for inaccuracies or issues arising from following these guidelines.