Top Strategies for Perfecting Your DIY Home Self-Tanning Routine
Achieve a flawless self-tan with these expert tips for at-home application. From selecting the perfect shade to prepping your skin, applying evenly, and avoiding streaks, this guide ensures a natural, radiant glow. Learn how to use simple tools like ice and DIY applicators for optimal results and maintain healthy skin throughout the process. Perfect for beginners and seasoned tanners alike, these strategies make self-tanning safe, effective, and mess-free from the comfort of your home.

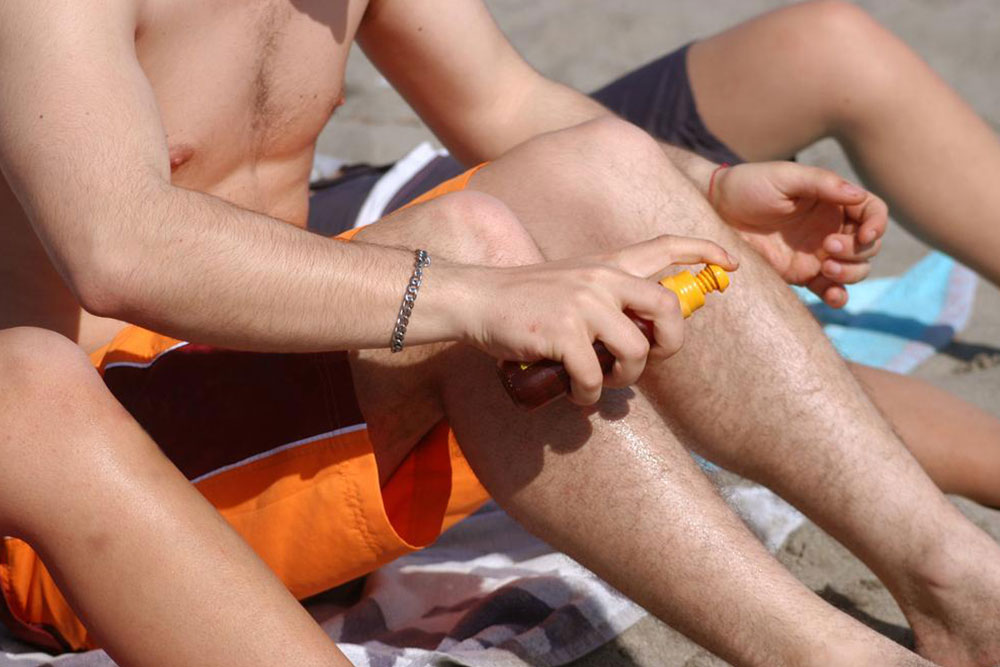
As the warmer months approach, many seek a sun-kissed glow minus sun exposure. Self-tanning offers a simple at-home solution to achieve a radiant bronze. Beginners might find the process daunting, but with these effective tips, you can master DIY tanning safely and effortlessly.
Select the Ideal Shade for Your Skin Type
Choosing a self-tanner that complements your natural skin tone ensures a believable finish. Avoid the darkest options to prevent an unnatural appearance. Light skin should opt for lighter hues, while medium to darker skin tones can select medium or deeper shades for a natural look.
Match your self-tanner to your complexion for seamless results.
Fair skin benefits from gentle shades, olive tones from medium tones, and deep bronze to brown skin from darker shades.
Prep Skin with Ice to Minimize Breakouts
Applying ice cubes to your face before tanning helps tighten pores and reduces breakout risk. Gently rub the ice over your skin, then pat dry before applying the self-tanner for a smooth, clear finish.
This step protects against clogged pores caused by tanning products, promoting healthier skin and an even tan.
Discover more: Home Remedies for Clear Skin
Exfoliate for a Flawless Application
Exfoliating prior to tanning removes dead skin cells, providing a smooth surface for even color distribution. Use an oil-free exfoliator to avoid patchiness. After tanning, wait three days before exfoliating again to allow the tan to fade naturally and evenly.
Consistent Application Technique
Apply the tan systematically, starting from your limbs inward—arms to hands, legs to feet. Layer evenly to prevent streaks or missed areas, ensuring a uniform glow all over.
Learn more: Tips for Radiant Skin
Create a DIY Back Applicator
Use a spray with a 360-degree nozzle, or make your own by attaching a self-tanner mitt to a wooden spoon or body brush with a rubber band. This allows easy self-application on your back without assistance.
Improve Precision for Better Results
Use less product on your face, hands, elbows, knees, and feet. Use the applicator's center to deposit the right amount, blending excess tan downward from your arms and focusing on natural contours for even coverage.
Minimize Hairline Streaks with a Toner
Applying a light toner around your hairline after tanning helps soften harsh lines and creates a seamless transition between skin and hair, resulting in a more natural look.
Disclaimer: Our blog provides practical advice across various topics. While we strive for accuracy, the information should be seen as guidance rather than definitive solutions. We are not responsible for discrepancies or outdated data.